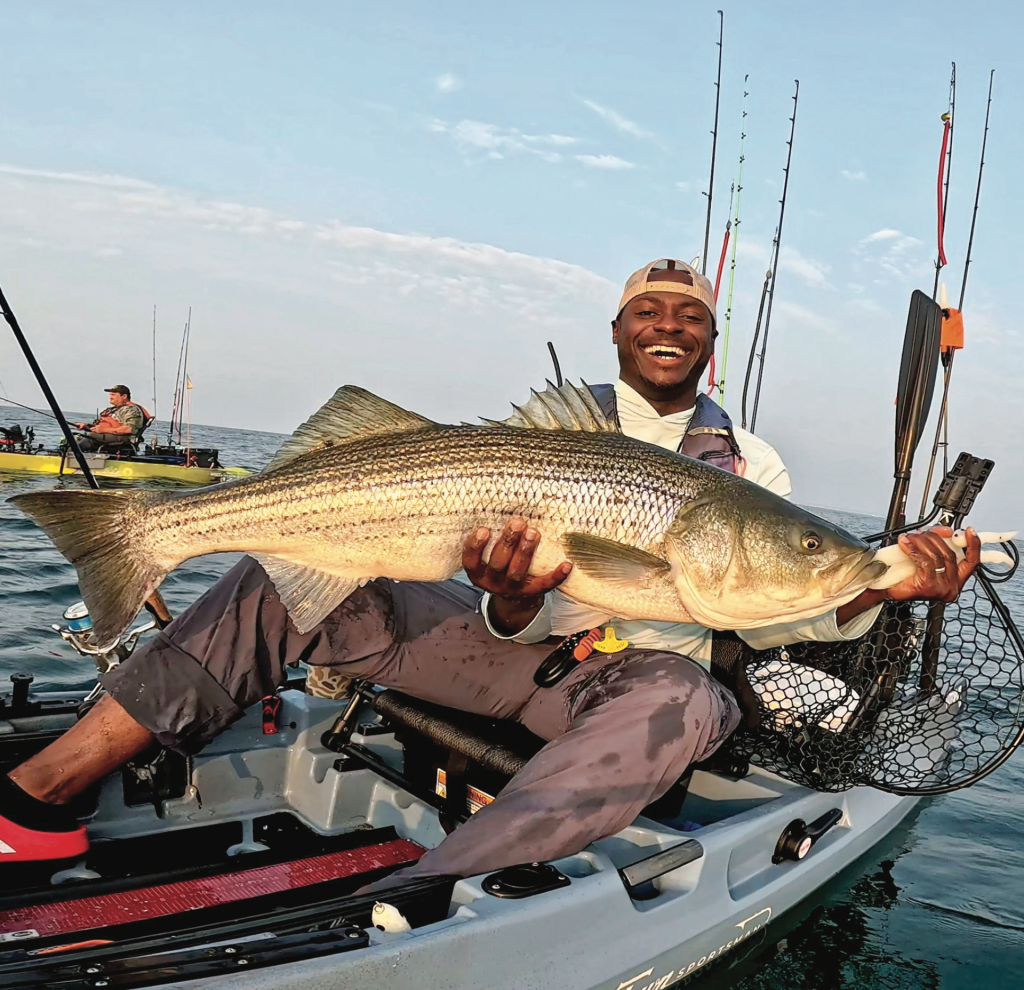
Striped bass are one of the most sought-after inshore gamefish, and there’s no better way to target them than from a well-rigged kayak. Kayak fishing puts you close to the action, allows access to water that larger boats can’t reach, and creates an intimate, hands-on experience with every bite. But success on the water isn’t just about finding fish—it starts with how your kayak is set up. From choosing the right kayak and propulsion style to organizing gear, prioritizing safety, and adding the right electronics, a thoughtful rig can make your days on the water safer, more efficient, and far more productive. In this article, I’ll break down how to rig your kayak for striper success based on my experience helping many people build out their rigs, my time on the water, and being a pure gearhead.
Choosing the Right Kayak for Striped Bass Fishing
When it comes to choosing a kayak for striper fishing, there are endless directions that one could go. The old-school, tried-and-true paddle kayak is usually the first option that people consider, followed by the very popular pedal-driven kayak. The third option is a motorized kayak. All three options have contributed to great striped bass success stories, but I believe there’s a time and place for each option.
Kayaking started with indigenous hunters building one-person boats out of driftwood. Although kayaking has become a leisure pastime, according to my research, those crafty Native American hunters built them specifically for fishing. Fast-forward 5,000 years, and despite the advancements in technology, many people still prefer to fish on paddle kayaks, some with great success. When choosing a paddle kayak for saltwater fishing, my recommendation is a sit-on-top version. It’s the best option for saltwater kayak fishing because a sit-inside kayak doesn’t offer a place for water to drain, which could become a big issue if the weather and sea conditions turn for the worse.
Of the three types of fishing kayaks, a paddle kayak is my third choice because fishing is very hands-on and, unfortunately, you need both hands to propel the kayak, which means less time with your hands on the fishing rod.
Over the years, kayak companies developed more efficient ways to maneuver a kayak, and we ended up with the pedal-driven version. Hands down, this is the most popular type of fishing kayak that I see on the water. By propelling the kayak with your feet instead of your hands, you’re able to have a hand on your fishing rod and move the kayak at the same time. Game-changer! While there could still be some fatigue, depending on how much water you have to cover and how fast the current is moving, at least you’re moving with your body’s strongest set of muscles.
The third option, and what is starting to become the most popular option, is the motorized kayak, which changes the fishing game even further. There is very little fatigue, which increases the distance you’re able to travel and the duration of your fishing outings.
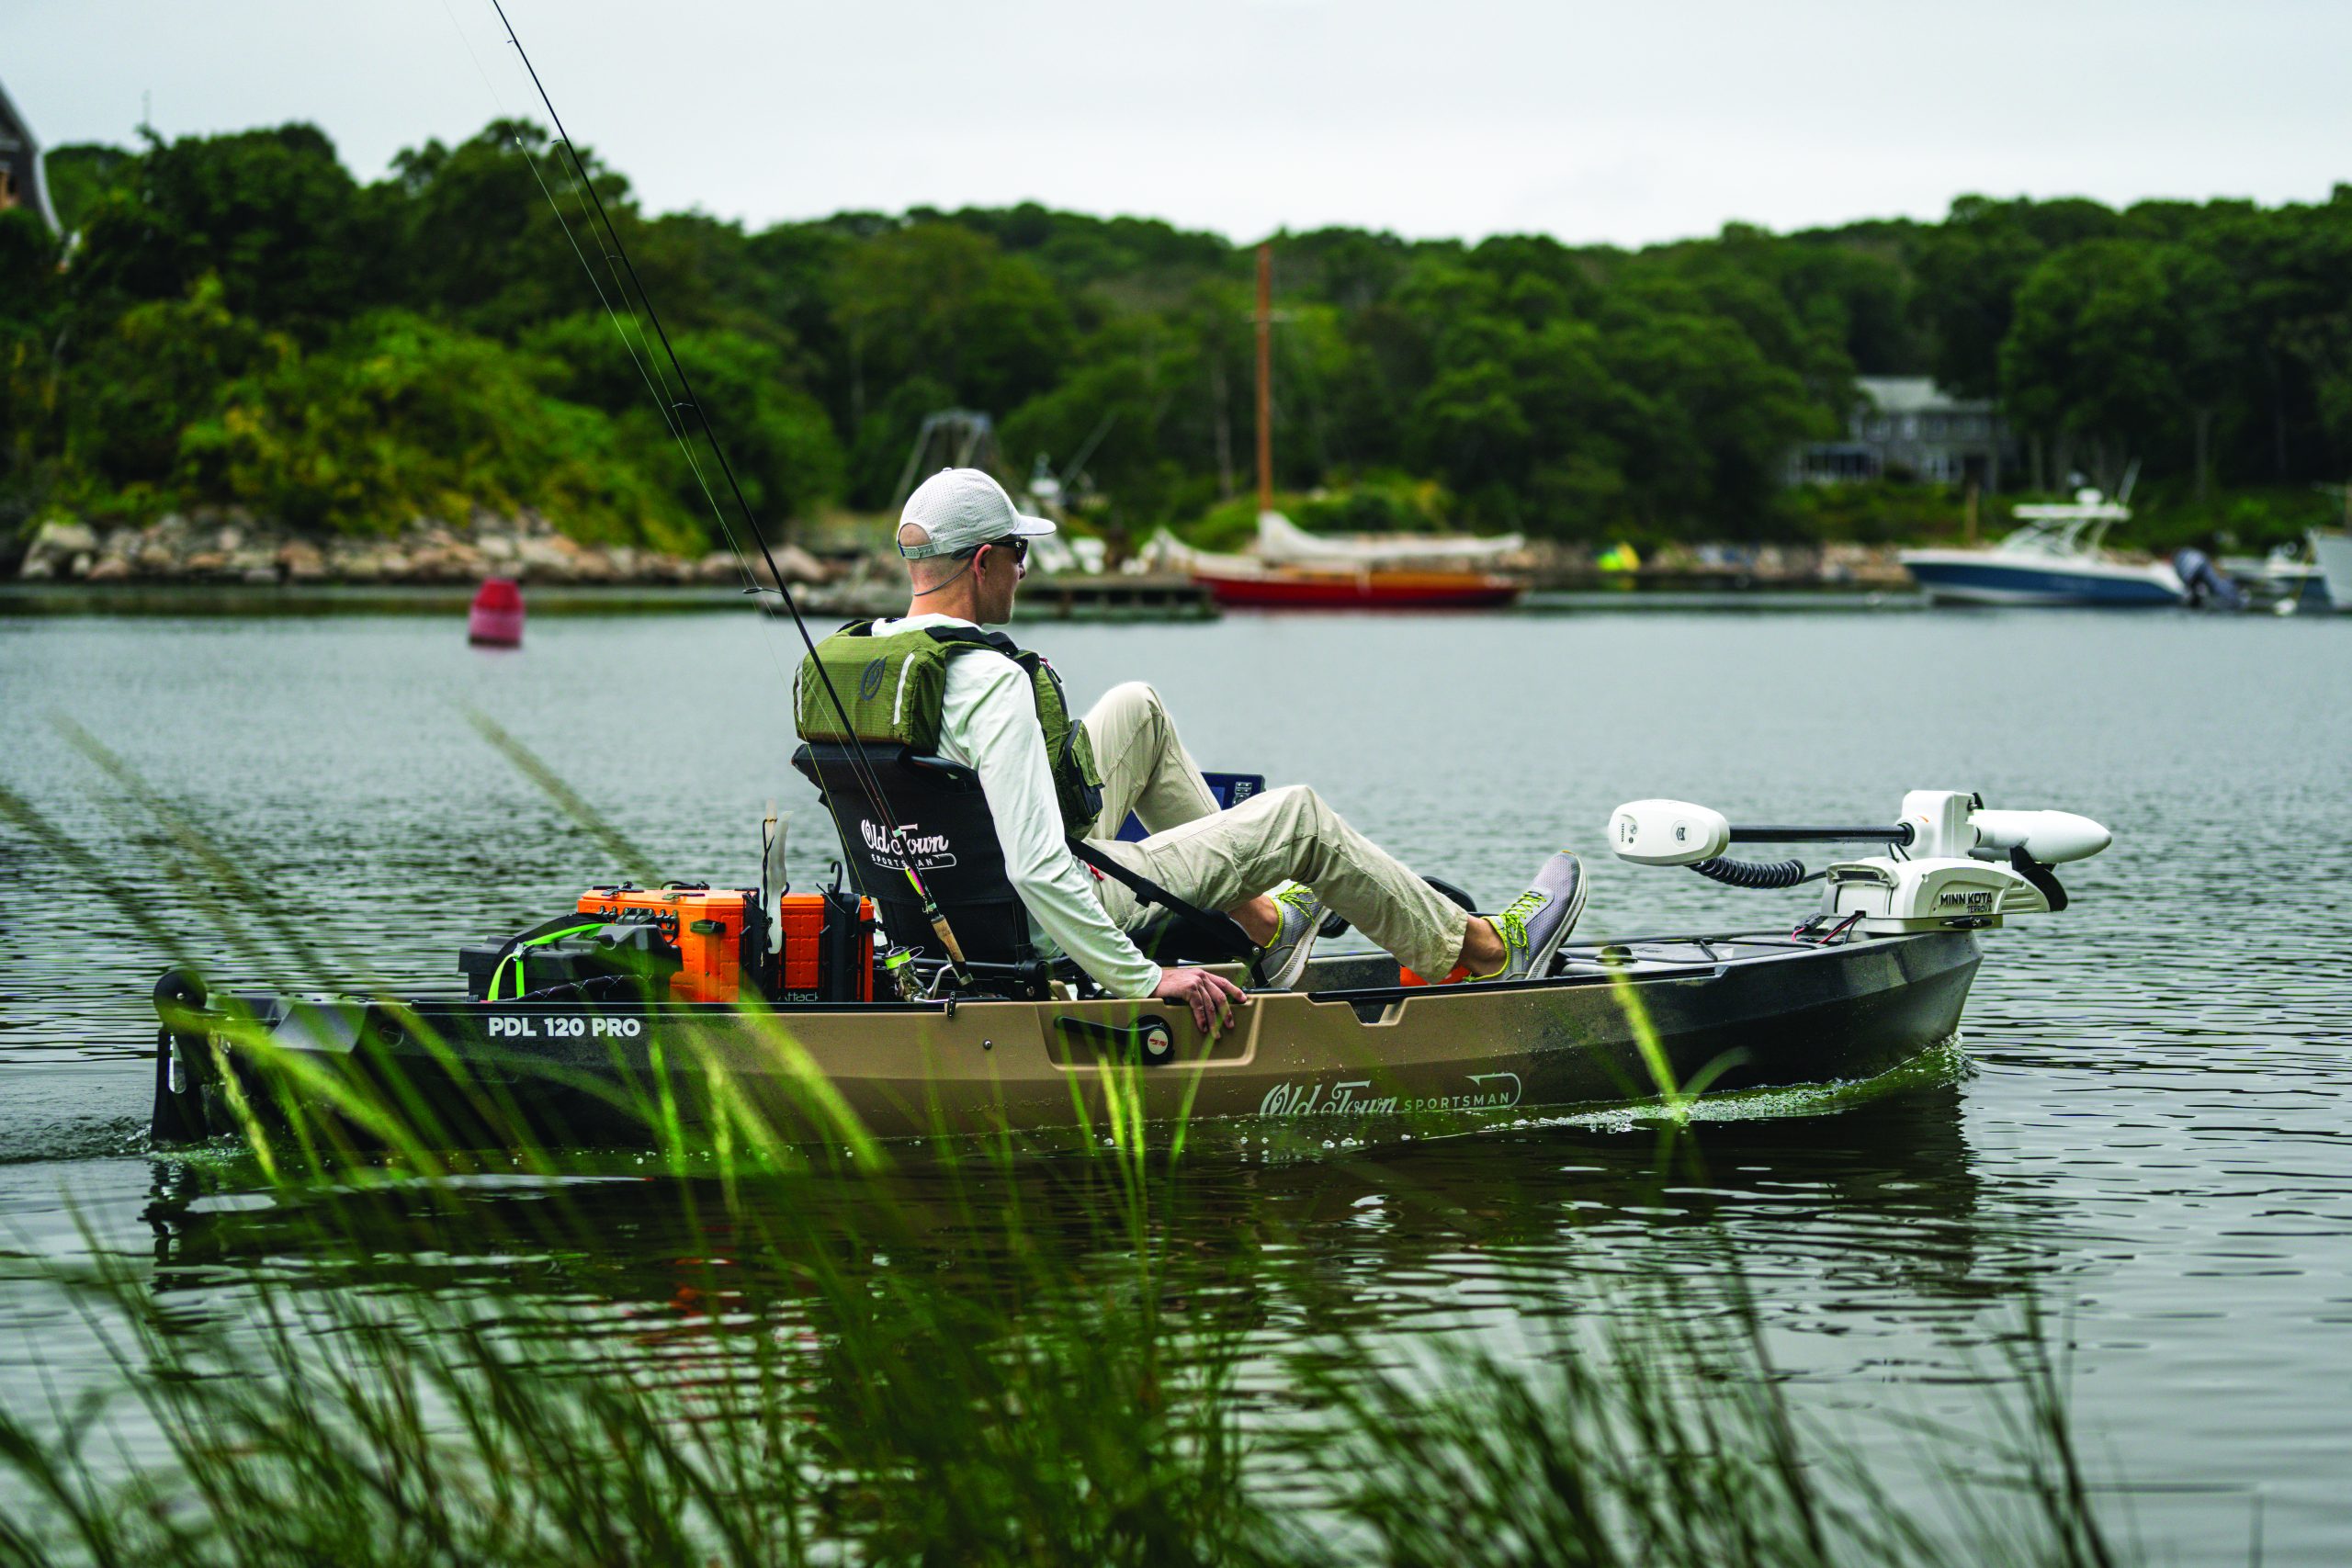
There are two ways to attack kayak motorization. The first is adding a motor to your existing paddle or pedal kayak (there are many options on the market). The second is purchasing a kayak that already comes with a motor. The two kayaks I use are the Old Town Autopilot and the Old Town ePDL Pro 120. Both are incredible, but I give a slight edge to the Autopilot because it comes with a Spot-Lock-enabled motor, quite helpful for many fishing situations. Even so, I do love the ePDL Pro 120 because it gives you the option to pedal, motor, or do both by using the pedal assist.
6 Pieces of Essential Gear on My Rig
From looking at my kayak, you might think I have a lot of stuff on it, but compared to how elaborately one could rig a kayak, I think my setup is somewhat simple. Beyond the basic safety items mentioned earlier, I outfit mine with a fishfinder with side-scanning and forward-facing sonar, a storage crate for organization, a GoPro to document my catches, a measuring board, a fish bag to keep my catches fresh and on ice, and a landing net.
Fishfinder
I actually consider a fishfinder with GPS a safety item, which makes the purchase easier to sell to your spouse or when budgeting for a fishing kayak. On any given day, you can be fishing in bluebird skies and the next thing you know, you’re in thick fog that wasn’t forecast. The GPS keeps track of where you’ve been the entire outing, so it aids in getting you back to shore in fog.
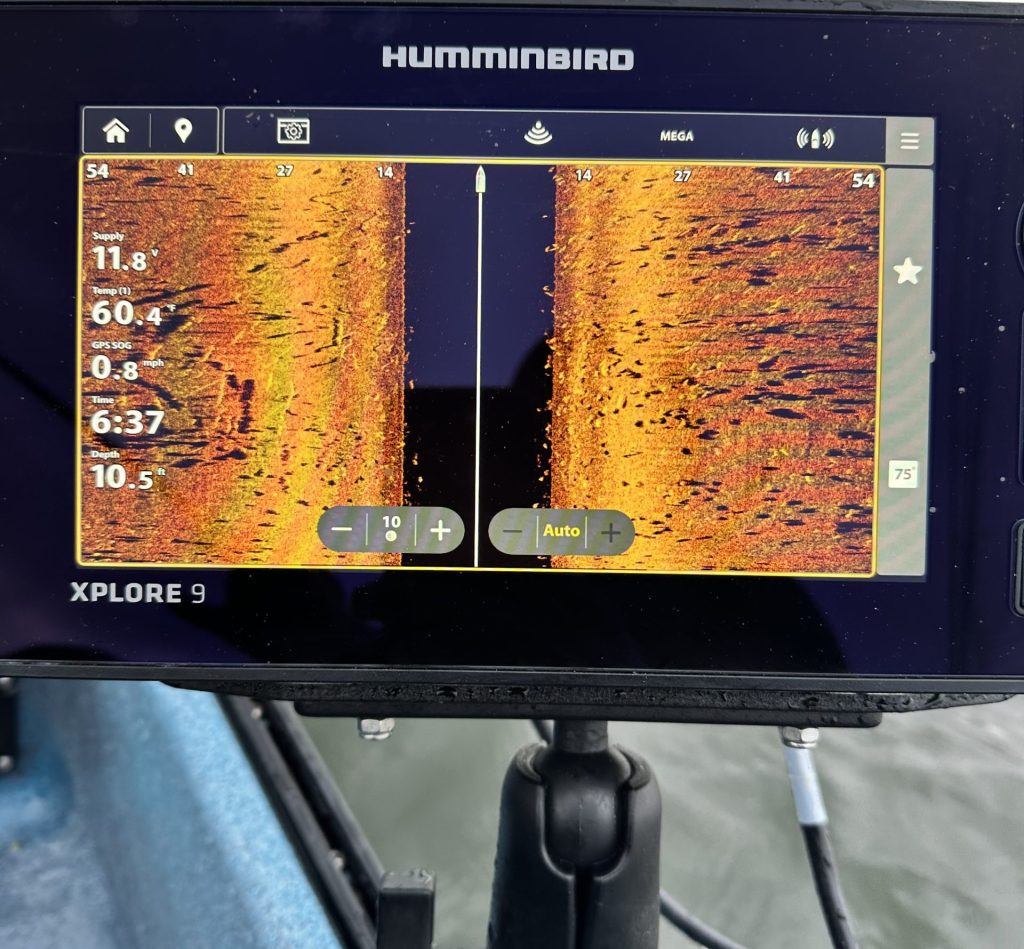
My Humminbird Xplore has been very good to me. I love how clearly the side-scan, down scan, and 2D sonar features show. The 9-inch screen is large enough that I can easily make out fish and structure. A chart is very important to me while fishing, so I love Humminbird’s Coastmaster Premium Northeast mapping card. It shows very detailed lay of the land, which helps out when exploring new water and trying to figure out where to start. Also, the Xplore is forward-facing-sonar ready, and after using Humminbird’s Mega Live 2, it’s hard not to have it at my disposal. If you haven’t used forward-facing sonar, I highly recommend it. Being able to watch fish react to your lure or bait in real time is very educational and a true game-changer.
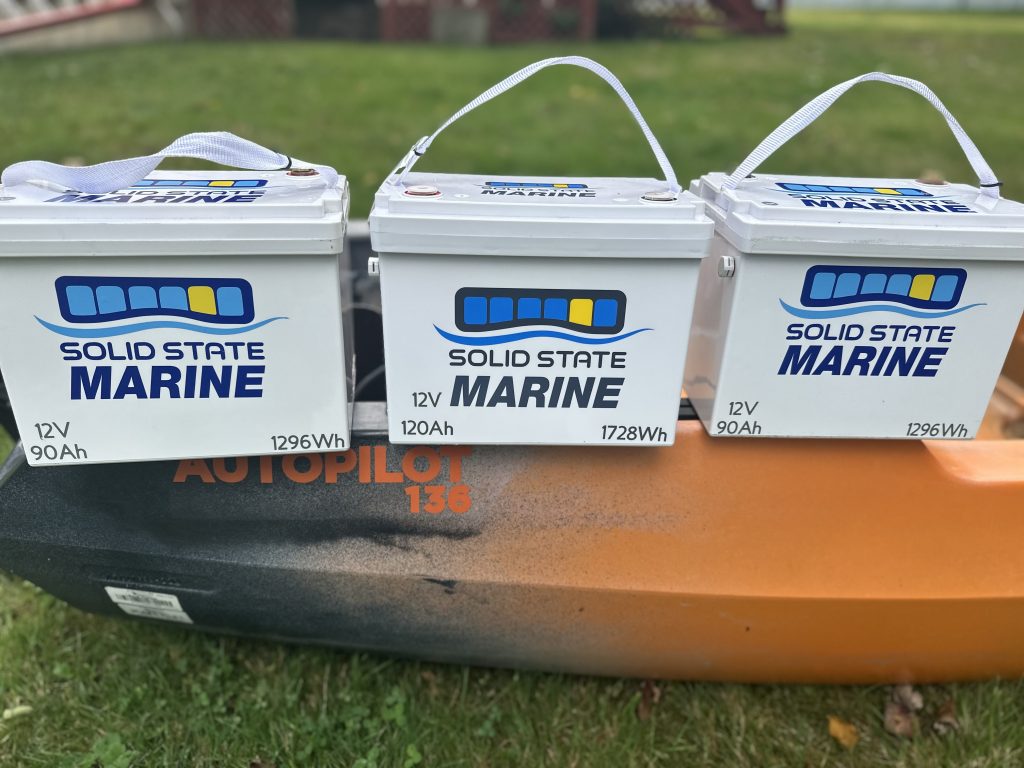
Having a motorized kayak with a fishfinder, lights, and forward-facing sonar means that you’ll need a reliable power source so that everything runs smoothly. I power mine with Solid State Marine batteries. They are the lightest, most efficient, and safest battery on the market. To power my fishfinder, I use two small lithium batteries inside a Yeti Loadout GoBox 15 that fits behind my seat. With the batteries in a battery box and my finder being easily removable, I can take this setup with me anywhere, even ice fishing.
Storage Crate
As great as fishing kayaks are, all kayak fishermen acknowledge that there’s a lot going on in a small space. Kayak organization is key for having successful days on the water. Every kayak company designs their hulls differently, so when choosing a kayak, storage space can be a major consideration. As a kayak fishing guide, I have to be prepared for every situation that could arise, so I have a large kayak crate to pack for all the what-ifs I might encounter on the water. I’ve used a few different crates, but I’ve really fallen in love with my 16×16 YakAttack BlackPak Pro. I bring along six to seven rods, so the six rod holders that come with the BlackPak are very helpful. You can add more rod holders if you’re one of those anglers who likes to carry 10 or more rods.

Measuring Board
Whether you’re a catch-and-cook person, a hardcore tournament angler, or just a fisherman who likes accurate documentation, a good measuring board is a must. You could save money by using a tape measure, but these measurements are often wrong.
For an accurate length, you must have a straight measuring device that doesn’t bend. Ideally, your measuring board will have a lip or stopper that the fish’s bottom lip can touch. However, a soft measuring tape does come in handy for girth measurements if you want to use a formula to estimate the weight of your catch. Last but not least, with the currently tight slot limit, if you are harvesting stripers, accurate measurements are essential, and the fines will cost far more than a proper measuring board.
Fish Bag
One of the most frequently asked questions I get about kayak fishing is, “Where do you put the fish you plan to take home?” That is a very valid question. There are two ways to handle fish storage from the kayak.
The most popular method is to bring along a scuba-diving stringer that allows you to have something to put your fish on and keep them in the water alive (and fresh) until you get back to the launch where they can be bled and stored on ice. I sometimes use that method; however, when the water temps get really warm, the fish die on the stringer and are not as fresh. Now, I bring along an insulated fish bag with ice. I can process my catch right away and put it on ice, maximizing the freshness.
Rod Holders
Most kayak crate companies include vertical rod holders, which are perfect for saving space. The typical rod holders included with a crate are designed for spinning and conventional rods. If you fly fish, you’ll need to add specialized rod holders to your rig. The YakAttack Omega Pro rod holders are perfect for all types of rod-and-reel setups including fly.
When trolling from the kayak, I’m a big believer in holding the rod in your hand, though many kayak fishermen use the Omega Pro to troll. The adjustable position allows you to position your rods parallel to the water, which is ideal for most trolling applications.
GoPro
In today’s world of content creation and everything needing to be documented, it’s very helpful to have a camera on your kayak. The days of your buddies believing you without “proof” are long gone. I use YakAttack’s Panfish Pro camera mount along with a GoPro to document my catches. While guiding clients to great catches on most days, I rarely have my camera rolling, but I love having it available for notable catches.
Must-Have Safety Equipment
Every year in New England, we sadly lose a couple of kayak fishermen. Kayak fishing is pretty common now, but I still consider it somewhat of an extreme sport. With all the money that we spend on gear and everything else, having the proper safety equipment allows you the opportunity to make it home safely to tell your fish stories. Here, I’ll list the basic safety items I take along and why.
PFD
If you have nothing else, you definitely need a PFD (personal flotation device). Flipping the kayak or falling out of it is rarely planned, so having a flotation device to keep you buoyant helps preserve the energy needed to get back into the kayak.
Marine Radio
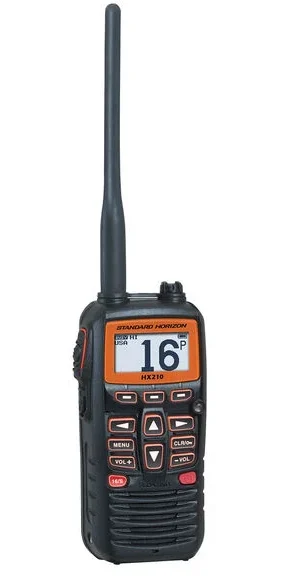
A waterproof, handheld marine radio allows you to reach a nearby buddy for fishing intel or the Coast Guard if there is an emergency.
Safety Flag with 360 Light
The extra visibility allows boats to better see you, and therefore avoid you, which is especially important in low light.
Paddle
Pedal drives and motors are awesome additions to fishing kayaks, but we are all one malfunction away from needing the old, reliable paddle to get back to shore.
First-Aid Kit
If you fish enough, you’ll get quite a few bumps and bruises, so having a small first-aid kit is helpful.
Headlamp
Very handy for low-light situations, retying, and finding your way.
Drysuit
If you kayak fish from November to April, a drysuit is highly recommended. It can save your life.
Rigging It Up
When the average person thinks of kayak fishing, he probably thinks of a somewhat affordable activity. I’d agree that compared to boating, kayaking is a less expensive way to spend time on the water. Unfortunately, the days of being able to spend $1,000 and have everything you need are coming to an end. While there are some very simple rigs that may total around $1,500, I’ve seen some that are $15,000. Both approaches work—it just depends on what works for your budget.
Tackle for Kayak Striped Bass Fishing

We can’t talk about striped bass fishing without mentioning tackle. Although I normally carry 6 or 7 rods, you can get away with 2 rod-and-reel combos for the entire striper season.
At certain times of year, you can expect smaller fish, so a nice medium-powered 7- to 7 ½-foot spinning rod with a 3000-sized reel is perfect. This type of setup is light enough to feel a nice fight from schoolies, but has just enough backbone for the monster that could catch you by surprise. Once the main season gets going and larger fish are more prevalent, I use a heavier-duty combo. For an all-around striper setup, I use a heavy-powered 7 to 7 ½-foot spinning rod paired with a 4000-sized reel. This combo will handle everything from topwater, tube-and-worm, flutter spoons, live bait, and jigs. On the lighter combo, I use 15- to 20-pound-test braid with a 12- to 25-pound fluorocarbon leader. For the heavier combo, I prefer 20- to 30-pound-test braided line with a 20- to 40-pound-test leader.
Early Season
Rod: 7’6″, medium-power Fenwick Eagle Inshore (EGLINS76M-FS)
Reel: Penn Slammer IV 2500
Line: 20 lb. Berkley X9 Braid
Leader: 20 lb. Seaguar Blue Label Fluorocarbon
This combo is light enough for schoolies, but with a reel that boasts 20 pounds of maximum drag pressure, it provides ample power to subdue a cow striper from a kayak.
Peak Season
Rod: 7′, heavy-power Jigging World Nexus 2.0 (JW-NEX701S-H)
Reel: Shimano Saragosa 5000
Line: 30 lb. Power Pro Super 8 Slick V2
Leader: 40 lb. Seaguar Inshore Fluorocarbon
A beefed-up spinning rod paired with a reel that provides 22 pounds of maximum drag pressure is ideal for throwing big topwater plugs, dropping heavy spoons and jigs, or live-lining large baitfish for trophy-size striped bass.
Important Considerations: Kayak Layout and Organization

Many anglers reach out to me for suggestions on how to lay out their kayaks. I recommend fishing in the kayak for a few outings before mounting gear. Simple things matter, such as which side you want your fishfinder mounted on or which side to put your safety flag.
I’m right-handed, so I prefer my fishfinder mounted on the right side so that I can fight and land the fish on the left side of the kayak. As for my safety flag, I mount it on the left side since I’m a right-handed caster and don’t want to hit it on the back swing.
When I first started kayak fishing, I had nothing but the kayak and a couple of rods during my first few outings. As time went on, I found the need for more gear and purchased it once I determined the right place to put it. At one point, I had only one kayak, so everything was mounted permanently. Now, everything is removable so that it’s plug and play on any of the kayaks in my fleet. In the end, kayak fishing is awesome. Although having the “ultimate rig” can be pricey, you also have the option to customize a simpler rig and catch great fish as well.
READ MORE